Bag Connection Options
|
With the docking unit in place you'll need to affix the button to the bag at the appropriate spot to meet the barrel and it will need to be supported. The button will come attached to a short length of alloy bar stock. Unlike decaleurs of the past, you will have the freedom to choose where the button is fixed to the bag. To facilitate this we offer un-drilled mounting plates for sale with both offset and centered alignment.
Purchase mounting plates here |
If you choose to use the mounting plate, remove the button from the bar stock and mount it directly to the plate, just make sure to add a fender washer to spread the load.
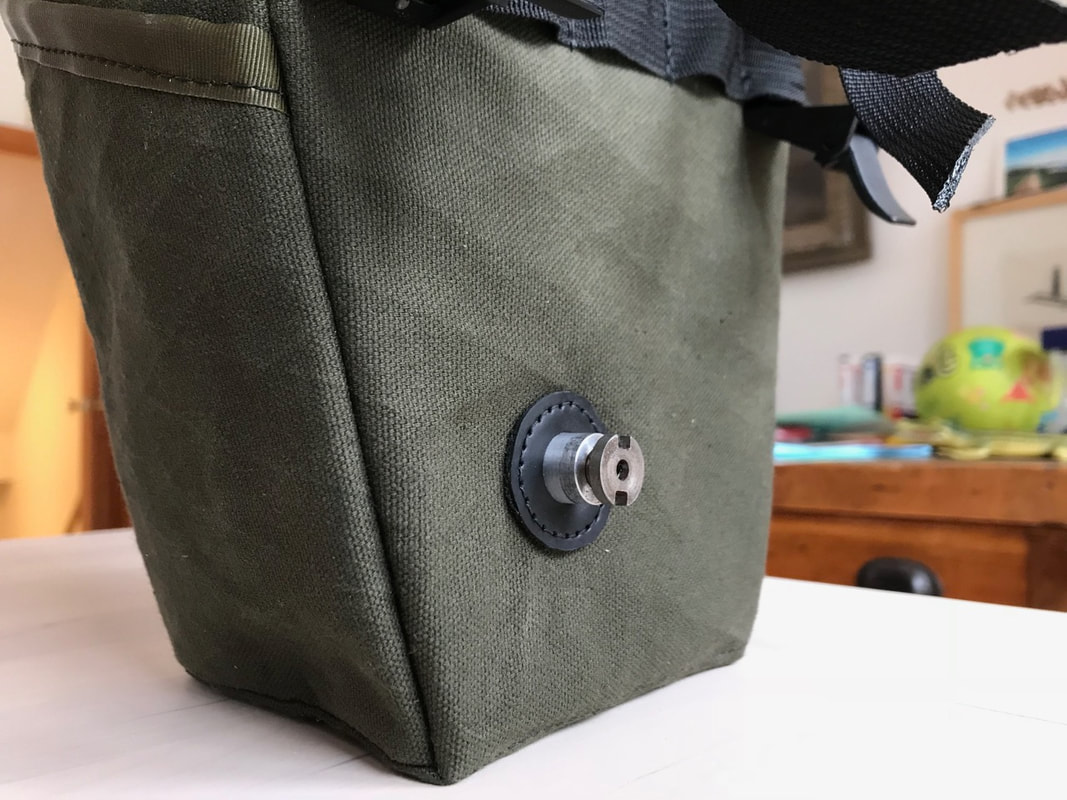
Only the button and bolt heads need be visible when on the exterior of the bag when all is said and done. |
|
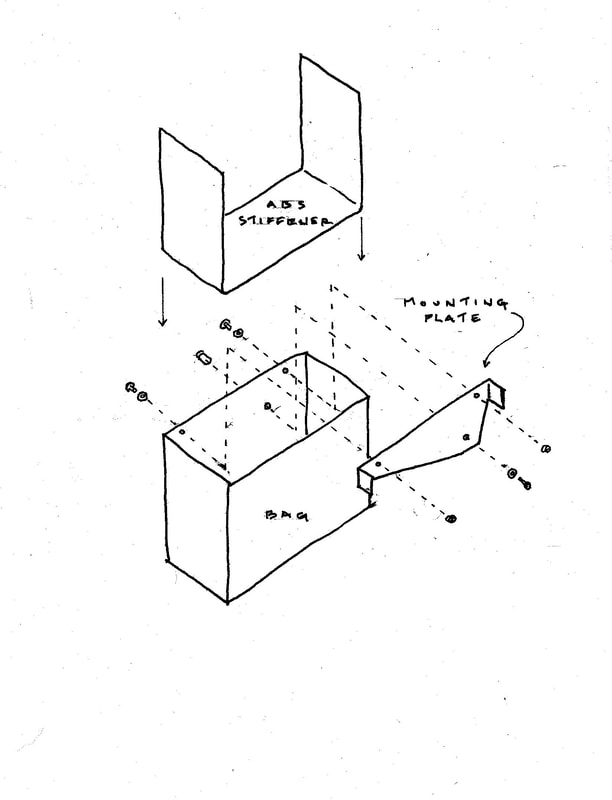
Creating a Waxwing/DockIt™ internal bag stiffener
All parts shown are available via Waxwing Bag Co./DockIt™.
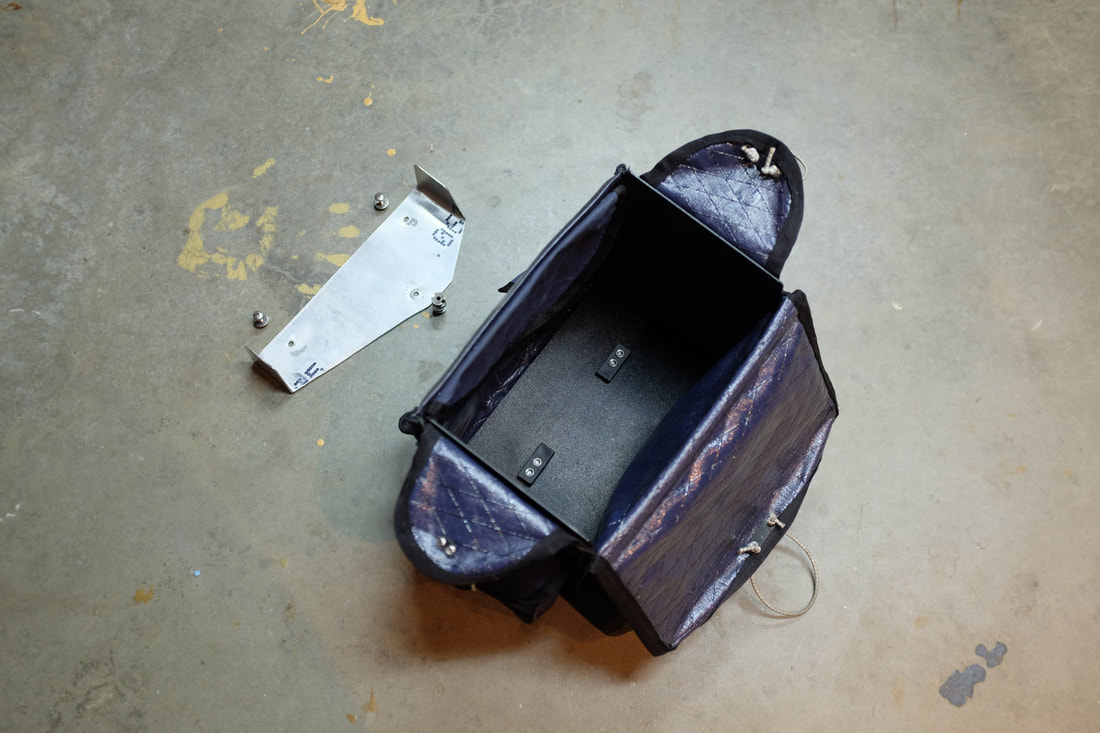
1.) Parts: Bag, 1/16" ABS plastic stiffener formed to fit bag, RaClips, aluminum mounting plate shaped to bag size; button and bolts
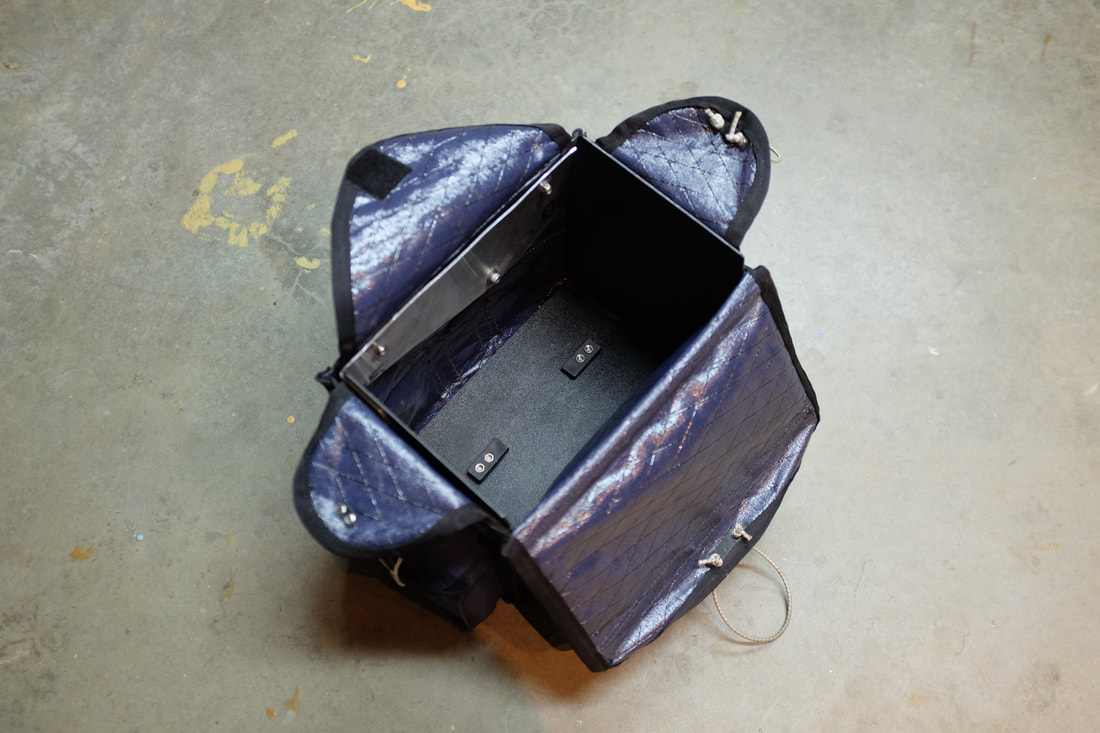
4.) All parts in place.
|
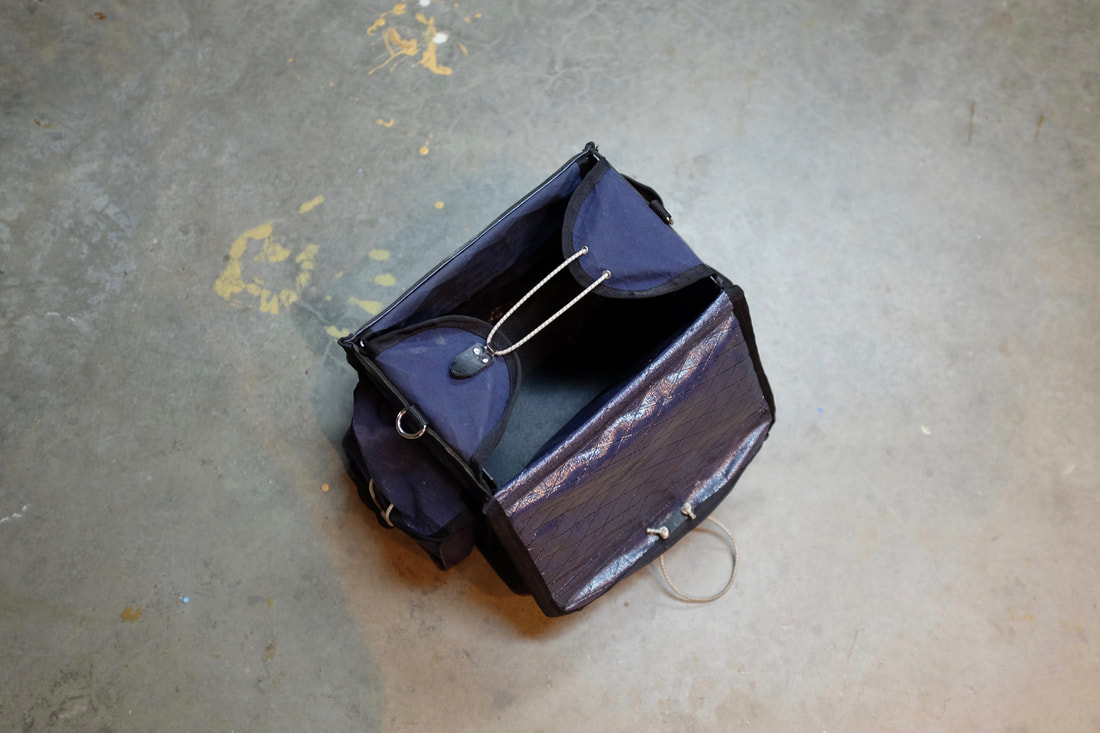
2.) The stiffener slides into place in the bag; holes drilled to match RaClip placement on rack. RaClips are mounted through bag and stiffener.
Complete directions for installation of RaClips found here
5.) Mounting plate cover flap closes over plate.
|
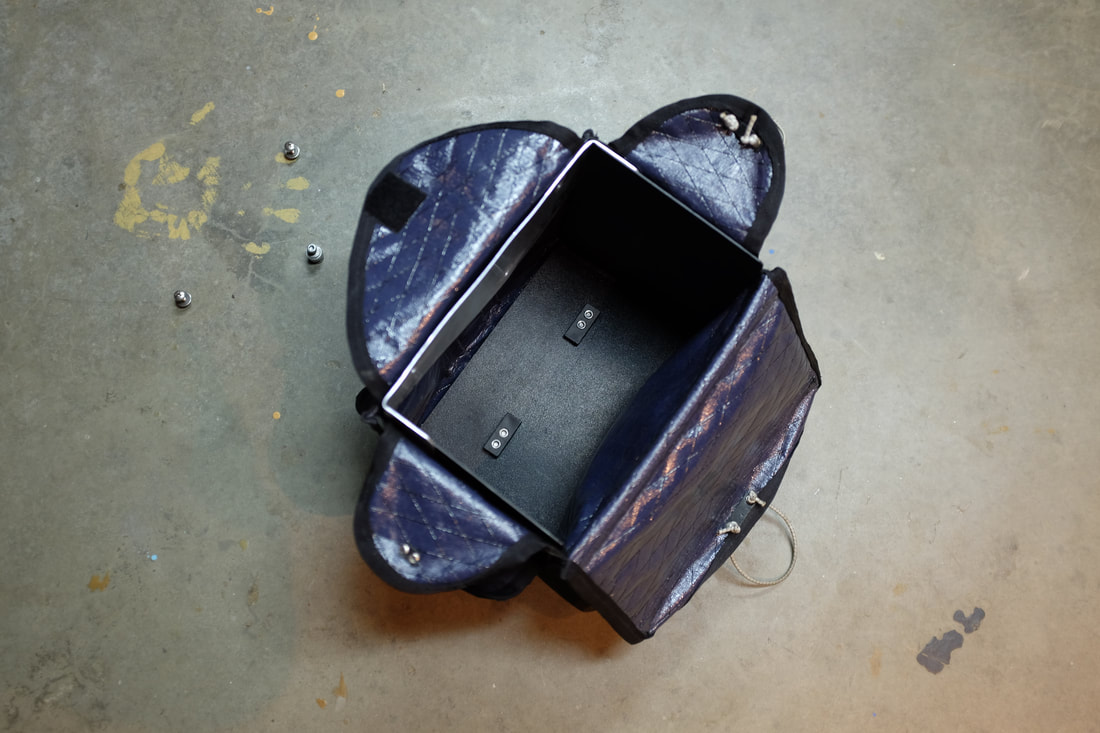
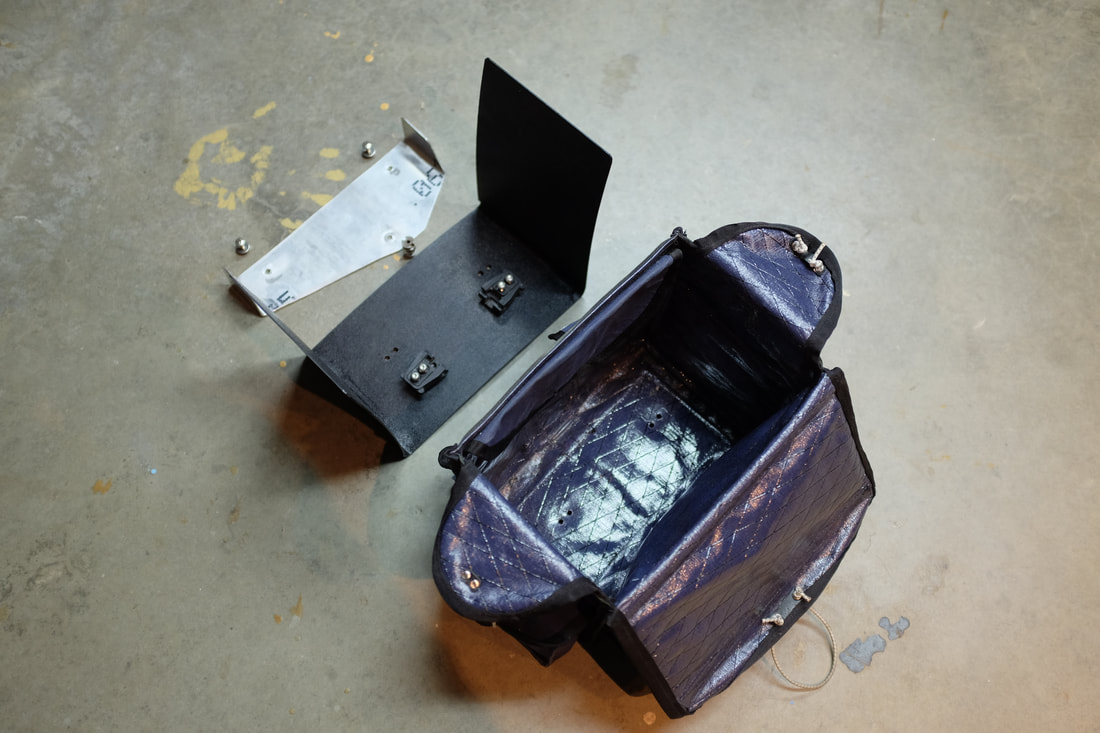
3.) Mounting plate slides into place with wings on outside of stiffener. Plate is drilled to accept DockIt™ button and attachment bolts, holes are punched in bag to match; DockIt™ button mounts through the plate and bag, as are two bolts at top band of bag.
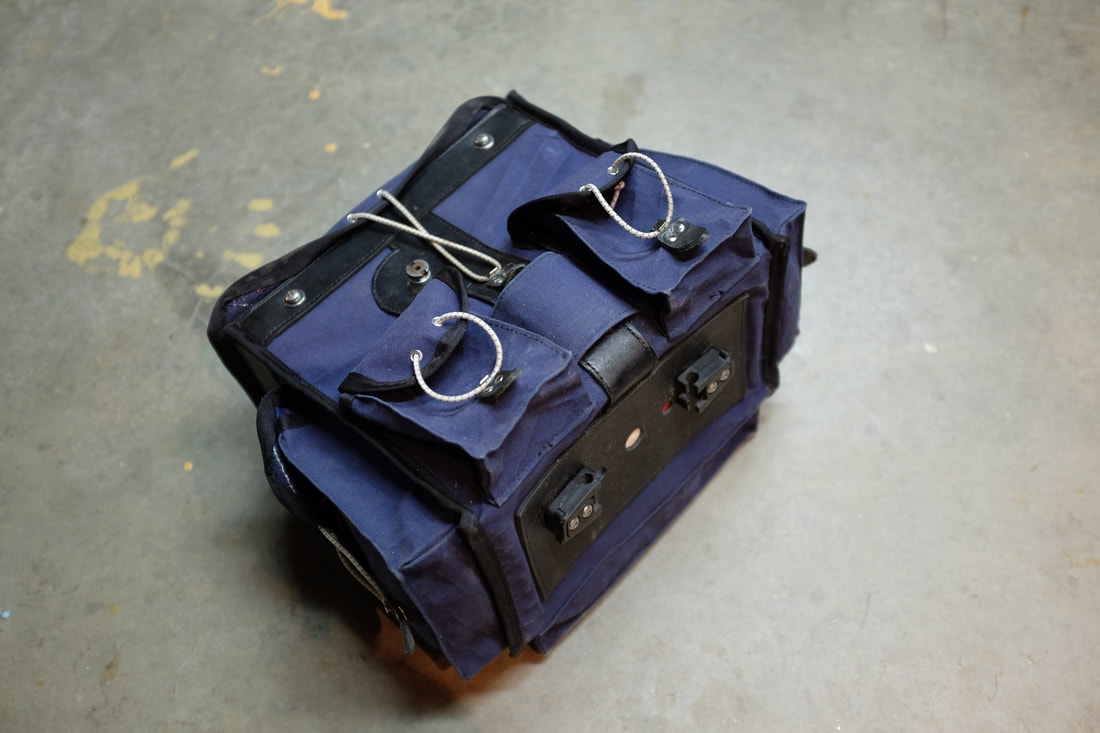
6.) Complete assembly. Bolts go through bag at top leather band and button is installed. RaClips visible on base of bag.
|
